Description
Test Pilot : Craig ‘Clickety’ Clarkstone
Designed to be powered by an EDF (64-70mm) or a single pusher motor.
Courtesy to Olaf, Karel, Richard and Trond for their amazing build photos.
Includes Free 3d printable parts gifted by Christopher Beckwith.
Check out the Build Guide in the tabs above, and don’t forget to watch the fantastic build video by Christopher Beckwith :-


Karel –
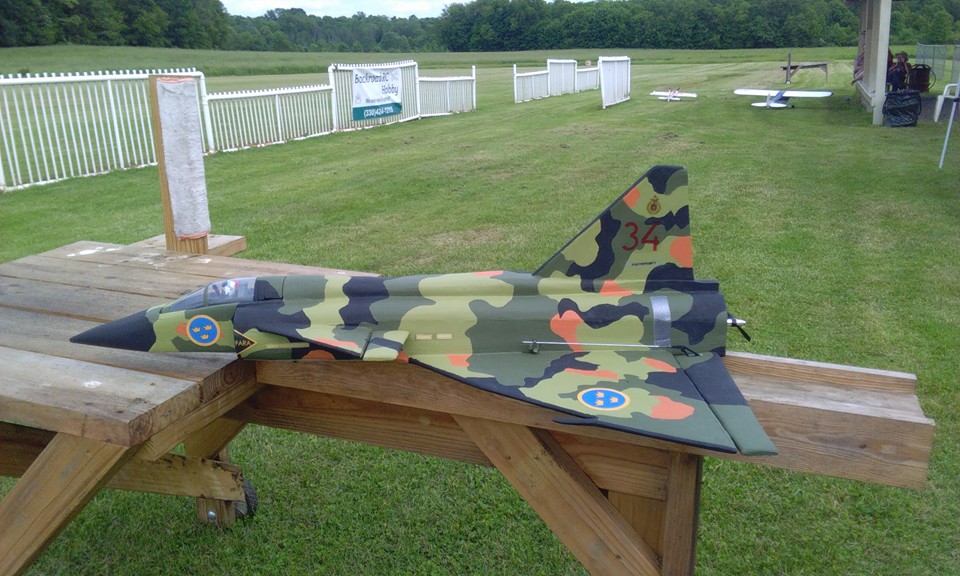
You won’t see this unusual plane somewhere, it has a very special shape and an interesting silhouette in the sky.
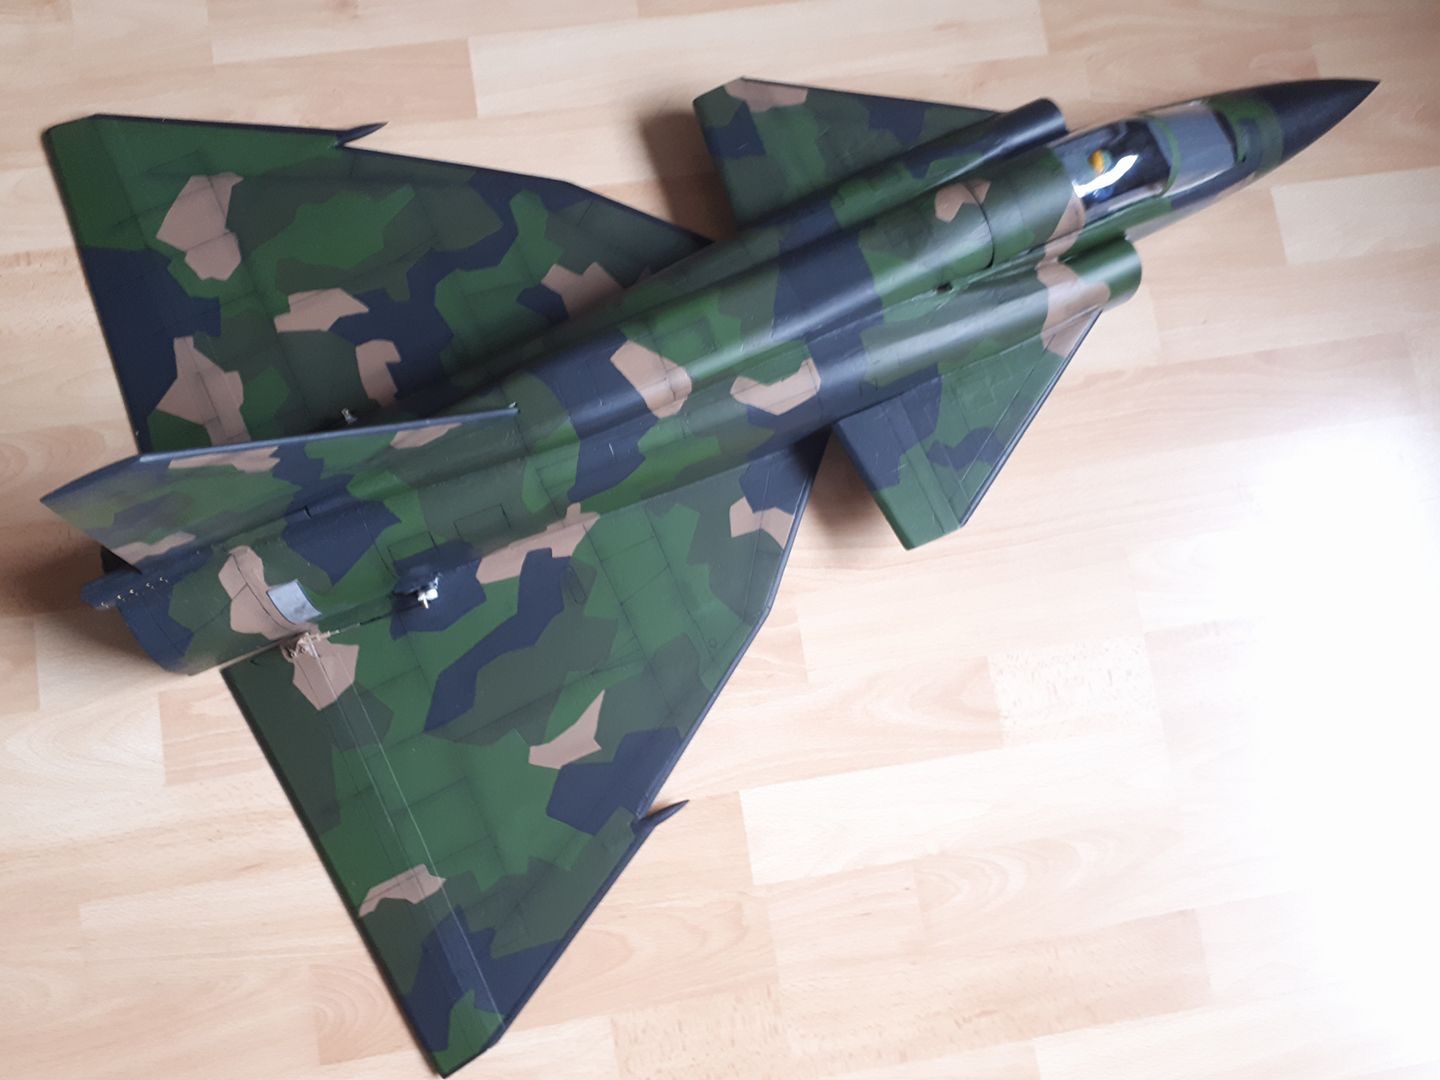
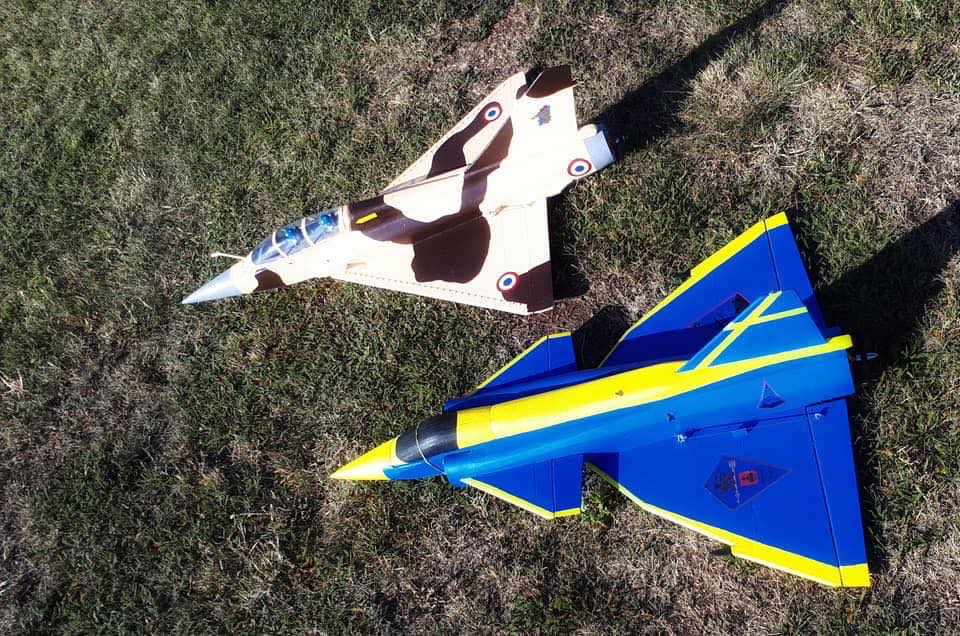
The building process goes perfectly without any inconvenience. The building instructions are very clear and clearly describe each step of the construction. I cut all the parts manually from the plates. I wanted to have my Viggen more scale. I sanded more to make the machine rounder, more filled to cover construction imperfections, I used balsa leading edges, I tried to glue it all more precisely. I really enjoyed the building. The advantage is that the material allows you to build such a plane even if you do not have a modeling workshop. Even if you work on the plane for half an hour a day, construction doesn’t take so much time at all. I used three depron plates (900x400mm), I used the same electronics as in all of my depron fighters. I found Viggen Blue Peter as a color scheme, the original camouflage would be difficult to read for me in the air.
I was worried about the maiden flight. The low main wing, I can not to catch it under wing and throw as usually. I had to throw the plane by holding the top of the hull. In the end, it was not so dramatic, the duck wings help quite a lot. Start at 2/3 of the throttle, throw the plane and immediatelly level the horizon and already flew. Then a little trimming of the elevons and it goes up. It flies at half of the throttle, and like all the deltas I have been flying, it must be a little stretched. The landing must go a little with the engine, because if I pull the throttle down completely, it goes down fastly. The exponentials are set to 75%. Because of the moving duck wings, Viggen is very skillful and nicely flies on the back.
Viggen must be constantly controlled by pilot, moments of inattention while piloting can cause lost of orientation and crash. That is beacuse Viggen can fly very fast and is very skillful.
Luke Attubato –
I have built both a 100% scale Viggen, and a 150% scale Viggen. Both were built as light as possible using twin tractor motors mounted at the wingtips.
The Viggen is a breeze to build and can easily be built in 2-3 evenings once it has been cut out, the construction guide is very comprehensive and makes the build frustration free.
The Jetworks Viggen flies absolutely amazing, with the counter rotating props, and the correct CG, both viggens required no trim what-so-ever. They are great for doing low and fast passes or even high alpha, 3D-like aerobatics, depending on what you want to do.
I can’t recomend the Viggen more
Valerijus Kaniušas –
Saab Viggen is very nice looking plane. All the building process was really enjoyeble. 3D printed parts created authentically so I recommend to use them. This model flies really well and easy to control. Mine was set with pusher setup: 2212 2200kV 3S motor and 6/4propeller. The Plane with this setup flies slightly underpowered for my tastes, so I suggest to choose 4S or other 2217 2700jV brushless motor that provides more thrust. Recommend pay attention at getting higher quality esc, because my cheap one died on the flight.
Frits –
I finally maidenend my Viggen this evening: powered by a 64mm EDF and a 4S 2200 battery. All went well: it’s a stable flyer. Though 2200mAh is not much: 2 to 3 minutes of flight time. It looks gorgeous in the air: just like the real thing.
Frits –
In addition to my previous review: I managed to squeeze a 2650mAh in the lipo compartiment which gives a slightly better flying time.
Btw, the conversion to EDF isn’t too difficult. Keep in mind that for the right CG the battery has to be moved aft of the standard location, even behind the cockpit. It fits between the inner air intake tubes, as much forward as possible. I made a hatch in the bottom to reach it. As a consequence, the flap connecting tube that makes them functional, can’t be used. I had functional flaps made, but then had to remove the tube within the fuselage and fixate the moving part of the flaps, which I did by glassing both upper and underside of each flap with 25gr cloth, to fixate them with the rest of the canard. Not a perfect solution, but it’s strong enough. So if you choose the EDF version, you can skip the functional flap construction.
All in all: highly recommended!